How Do I Set Up a Virtual Mailbox?
Setting up a BusinessAnywhere virtual mailbox allows you to receive, manage, and forward your mail online from anywhere in the world. The process is simple and ensures secure handling of your mail. Follow these steps to set up your virtual mailbox correctly.
📺 Prefer to watch a step-by-step video? Click here to watch the setup tutorial.
1. Create an Account and Purchase a Virtual Mailbox
To set up a virtual mailbox, you need to create an account on BusinessAnywhere and purchase a virtual mailbox plan that fits your needs. Once your purchase is complete, you will be redirected to your dashboard.
Important Note: If you have already purchased a virtual mailbox, you do not need to create a new one from the main dashboard. You can manage your existing mailbox from the Mailboxes section.
2. Add Recipients to Your Virtual Mailbox
A recipient is an individual or business that will receive mail through your virtual mailbox. You must add each recipient separately to ensure proper mail handling.
Steps to add a recipient:
- Click “Add Recipient” from your dashboard.
- Select whether the recipient is an individual or a business.
- Enter the recipient’s name and email address.
- Download USPS Form 1583, which is legally required for mail handling.
- Upload the completed and notarized Form 1583 along with two forms of ID.
Example: If you are using your virtual mailbox for both personal and business use, you must add yourself as one recipient and your business as a separate recipient.
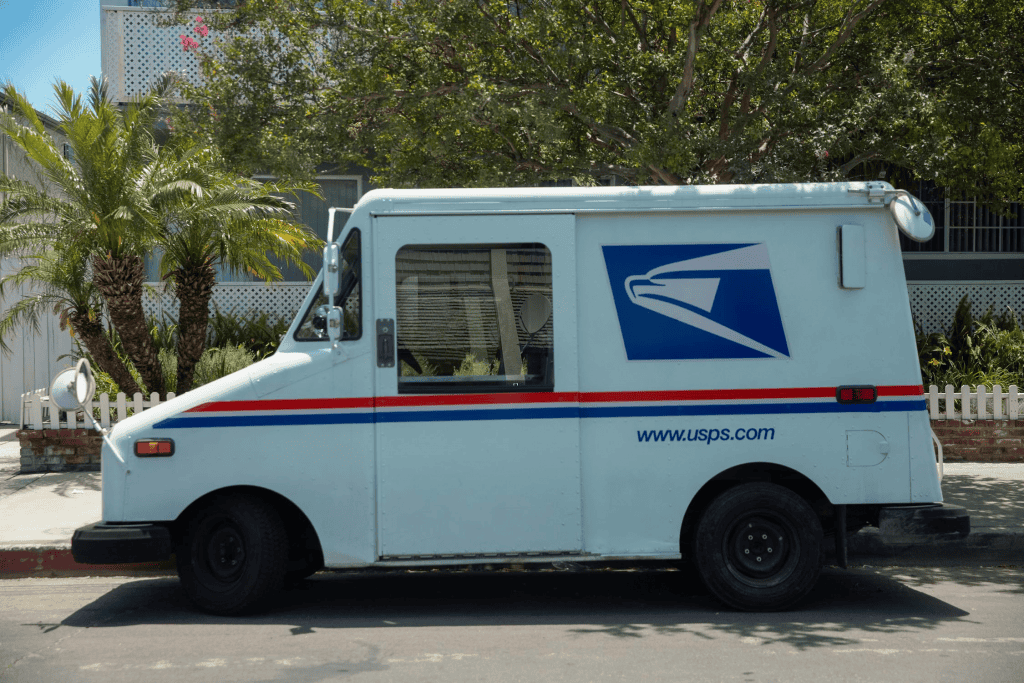
3. Complete USPS Form 1583 (Required for U.S. Mail Handling)
The United States Postal Service (USPS) requires Form 1583 for virtual mail providers to legally receive mail on your behalf.
- Download the form from the dashboard.
- Fill it out with your details and virtual mailbox address. Click here for a step-by-step guide.
- Notarize the form to verify your identity.
- Upload two valid IDs (one must be a photo ID).
- Submit the notarized form through the BusinessAnywhere dashboard.
Notary Service: BusinessAnywhere offers a built-in online notary service for $37 per notarization, ensuring quick approval. Alternatively, you can get the form notarized by a local notary and upload it later.
4. Configure Your Mail Forwarding Address
Once your mailbox is active, you can set up mail forwarding to receive physical mail at any location worldwide.
- Go to Profile Settings and select Mail Forwarding.
- Enter your preferred mailing address where mail should be sent.
- Select your destination country and postal code to calculate shipping costs.
- Save your address to enable mail forwarding.
5. Start Managing Your Mail Online
After setup, you can manage your mail directly from your BusinessAnywhere dashboard. When mail arrives, you will receive a notification and can choose to:
- View scanned mail items online.
- Request mail forwarding to any address.
- Shred and recycle unwanted mail for security.
- Store mail digitally for future access.
Get Started with Your BusinessAnywhere Virtual Mailbox Today!
Related FAQs
- What is a virtual mailbox?
- Can I use a virtual mailbox as my business address?
- How do I forward mail internationally?
Recommended Resources
- USPS Form 1583 Guide: United States Postal Service
- Understanding Digital Mail Services: Small Business Administration (SBA)